
In earlier versions of Windows, the screen saver option was always in sight. In modern versions of the system, this option has been retained but is rarely used.
- Go to Settings – Personalization – Lock Screen and click on Screen Saver under Related Settings.
- If the item is not active, right-click on the Start button, select Run, type the command “control desk.cpl,,@screensaver” and then press Enter.
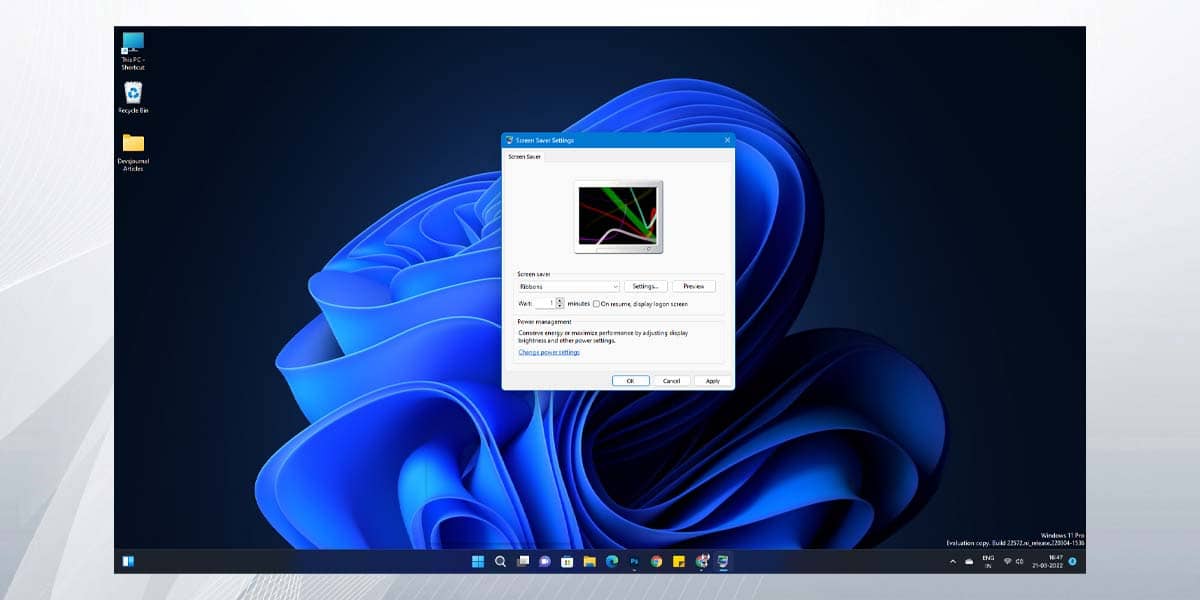
- The “Screen Saver Settings” window opens.
- Select one of preset screensavers in the “Screensaver” field, use “Options” button to assign parameters of current screensaver (they differ depending on a specific screensaver).
- Set an interval – time after which the screensaver will automatically start if computer or laptop is not used.
- Changing Windows 11 screensaver settings
- To preview the screensaver, click the “Preview” button in the screensaver settings window.