
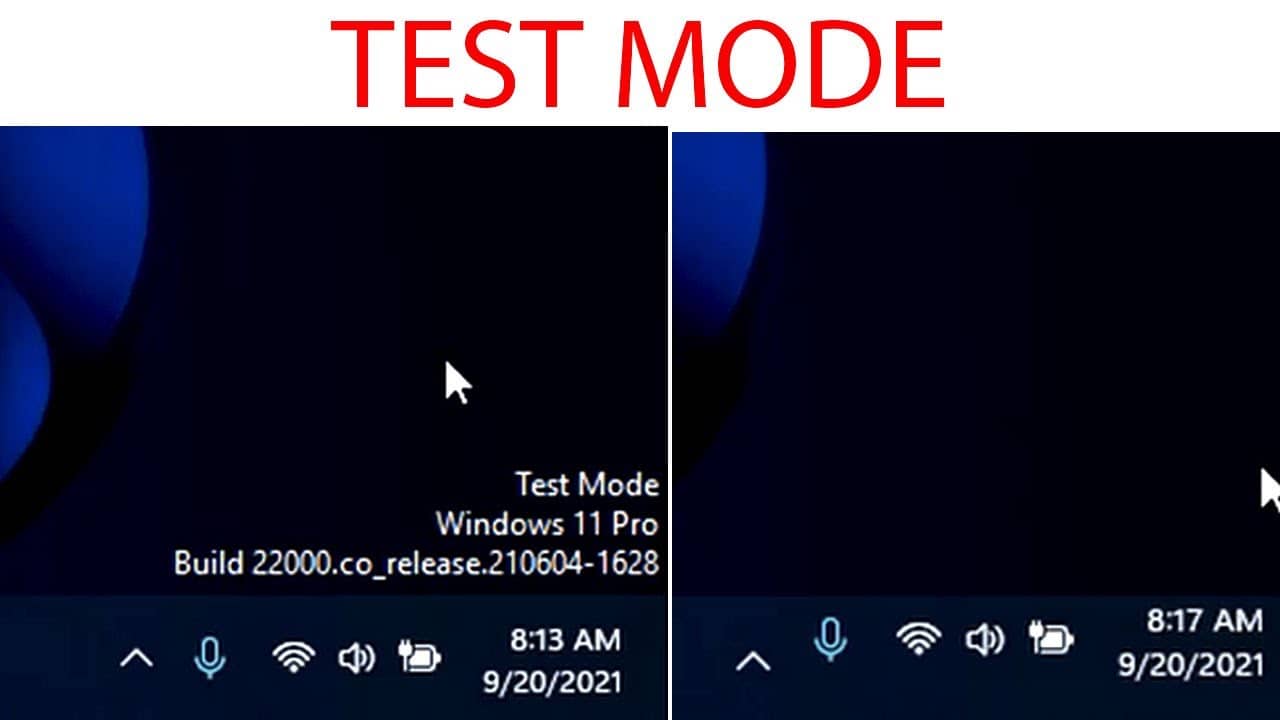
If “Test Mode” appears in the bottom right-hand corner of the Windows 11 desktop, indicating the version and build of the system, you have two ways to remove it.
Disabling test mode at the command line:
- Run the command line as administrator, or right-click on the Start button and start Windows Terminal as administrator.
- Enter the command “bcdedit.exe -set TESTSIGNING OFF” and press Enter.
- Close the command line and restart the computer.
Disabling test mode using a third-party utility:
- Download Universal Watermark Disabler.
- Launch and press Install button
- Confirm installation and in the next window press OK to log out.
- When you log in again, the “Test Mode” caption will disappear from the screen – done!