
Hibernation mode in Windows 11 saves data from RAM into a hiberfil.sys file, shuts down completely and, when subsequently switched on, loads that data again.
How to disable hibernation in Windows 11:
- Run the command line as Administrator or, by right-clicking on the Start button, open Windows Terminal as Administrator.
- Enter the command “powercfg -h off” and press Enter.
- No message will appear indicating that the command was successful, but hibernation will be disabled.
How to enable hibernation in Windows 11:
- Run Command Prompt or Windows Terminal as administrator.
- Enter the command “powercfg -h on” and press Enter.
- No result message will appear, but hibernation will be enabled.
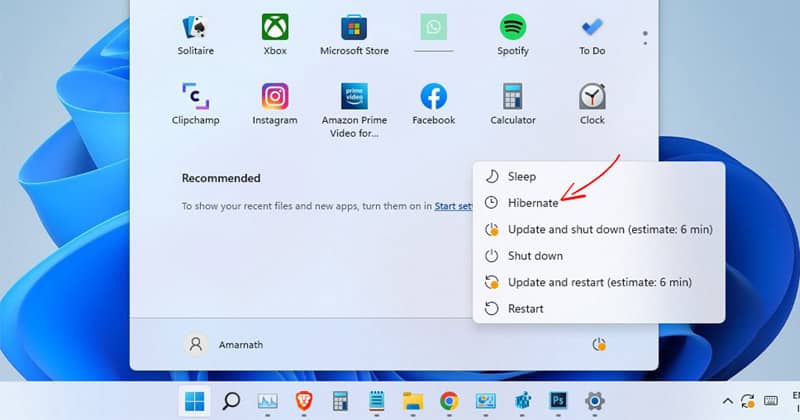
How to add “Hibernate” to the Windows 11 shutdown menu:
- Switch on hibernation (if disabled), then open the Control Panel.
- In the Control Panel, go to “Power”.
- In the left-hand pane, click on “Power button actions”.
- Click “Change settings that are currently unavailable” and then enable hibernation mode in the shutdown menu and apply the settings.
- Done, the “Hibernation” item will now be displayed in the Windows 11 shutdown menu.