
If you need to see the MAC address of a network card, Wi-Fi or Bluetooth adapter on Windows, there are several ways to do this.
Windows Settings:
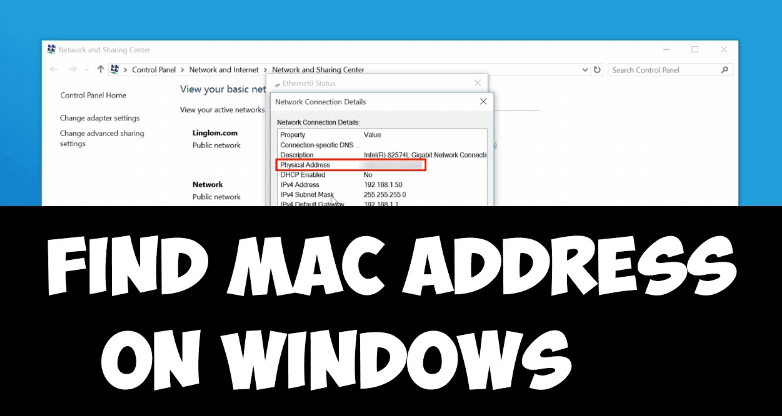
- Open Settings – Network and Internet.
- If you need to determine the MAC address of the network card, select Ethernet and you will see “Physical address (MAC)” at the bottom.
- If you need the MAC address of the Wi-Fi adapter, click on “Wi-Fi” and then open “Hardware Properties”.
At the bottom of the list of hardware properties, you will see an item containing the MAC address – “Physical Address (MAC)”.
PowerShell:
- Start a command line (Windows Terminal and PowerShell will also work).
- Enter the command: “getmac /v /fo list “and press Enter.
- This command will show the MAC addresses of the physical Ethernet, Wi-Fi, and Bluetooth adapters.
- The following command can only be used in PowerShell (or Windows Terminal with the PowerShell console open), it will show the MAC addresses of not only the physical devices, but of the virtual network adapters as well: “Get-WmiObject win32_networkadapterconfiguration | select description, macaddress”.
- Another variant command for the command line, which also shows additional information about the connections: “ipconfig /all” – you will see the required information under “Physical address”.
Information on the system:
- Right-click the Start button and select Run.
- Enter “msinfo32” and press Enter.
- Open “Components” – “Network” – “Adapter”.
- The list on the right will show a complete list of network adapters, including the MAC addresses in the respective item.